ReactNative getting started
Install Andriod studio
click next
select custom select theme
select below options
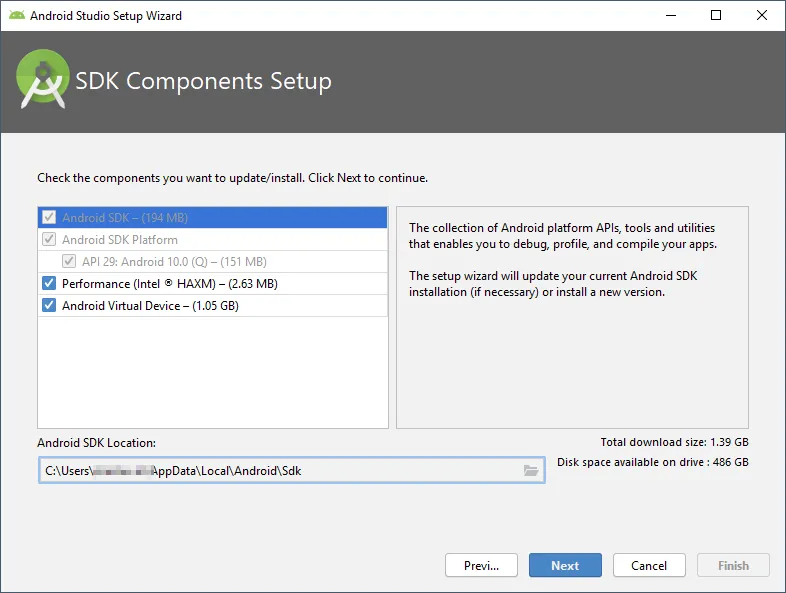
set Ram for emulator
next
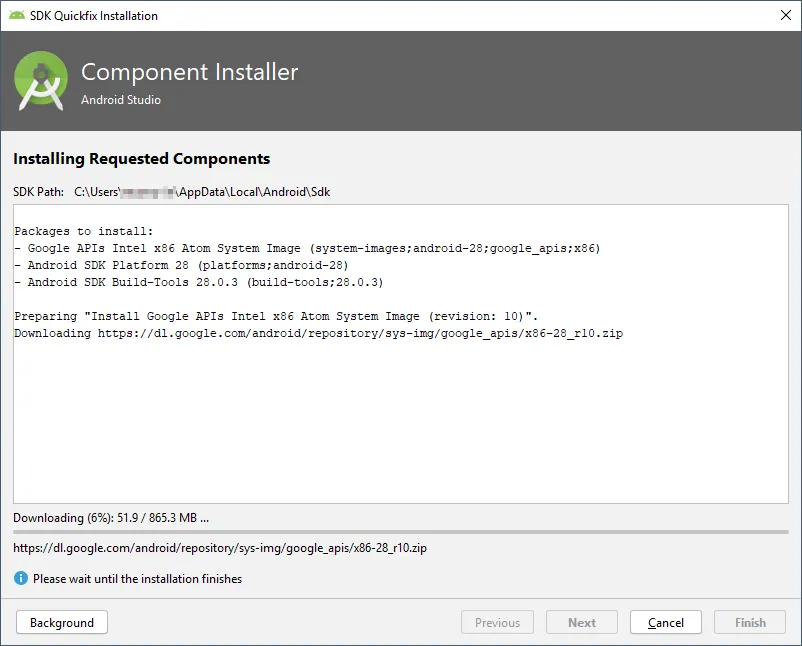
it will download the components
once done, click finish
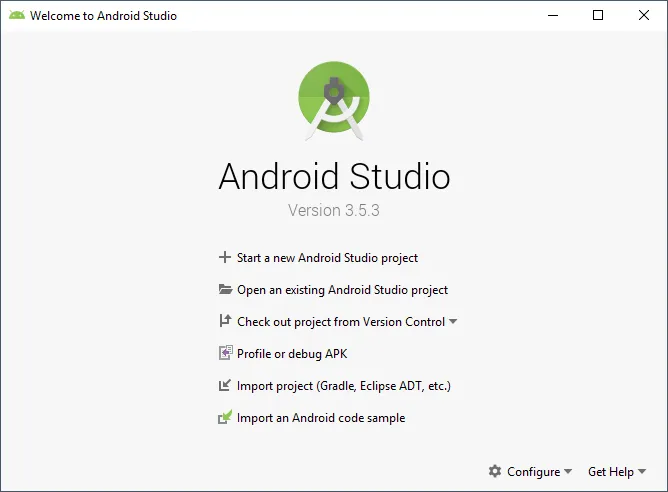 click configure in the above screen and select SDK manager
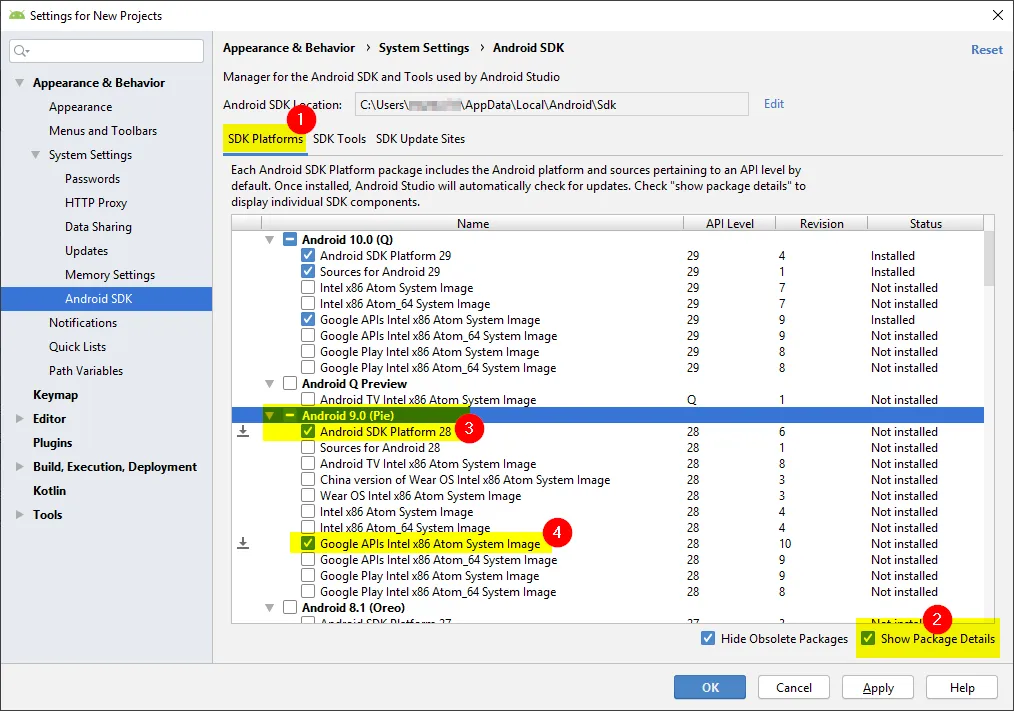
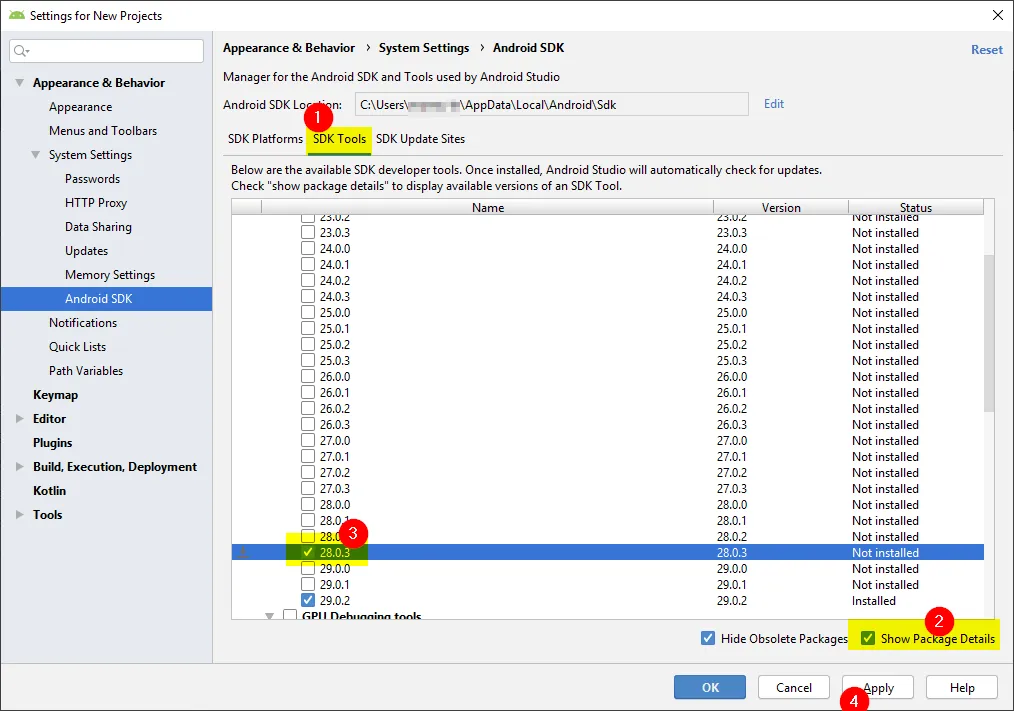 click apply
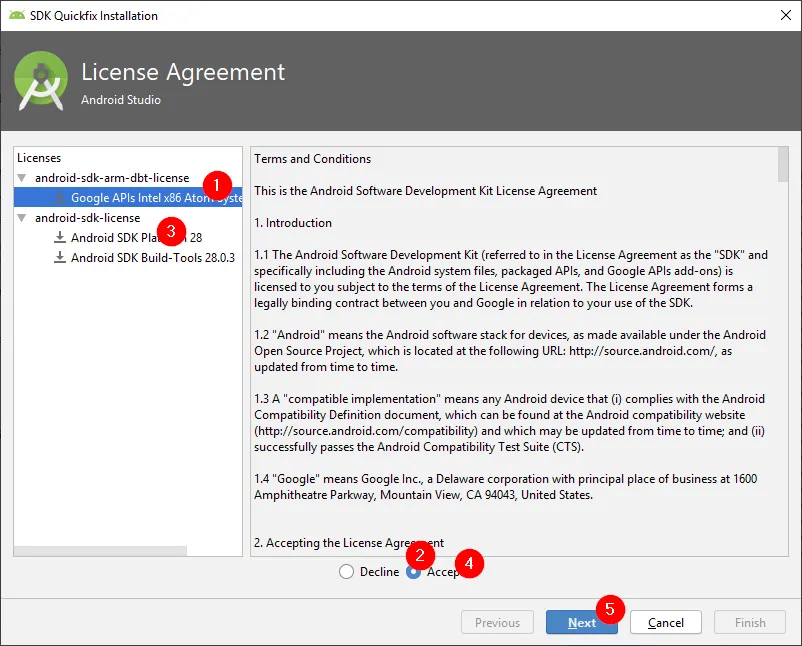
select arm-dbt license and accept
select sdk-license again click accept
click next
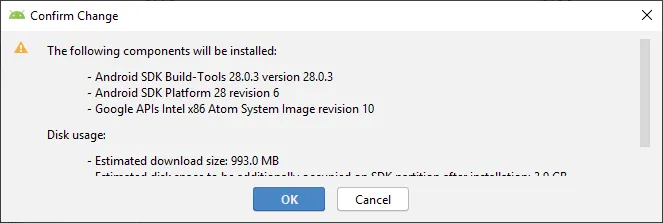
component will be installed
 once done, click finish
again we will be back to the component selection screen and click OK.
once done, click finish
again we will be back to the component selection screen and click OK.
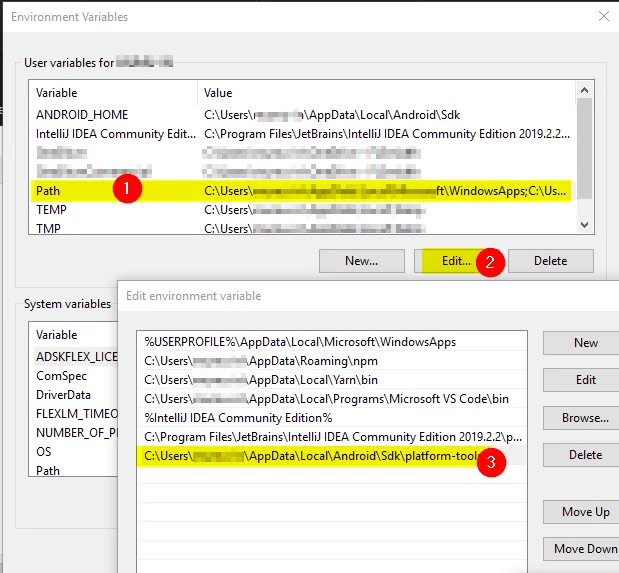
Setting Andriod home environment variable
The SDK is installed, by default, at the following location: C:\Users\YOUR_USERNAME\AppData\Local\Android\Sdk

Add platformtools to path
The default location for this folder is: C:\Users\YOUR_USERNAME\AppData\Local\Android\Sdk\platform-tools
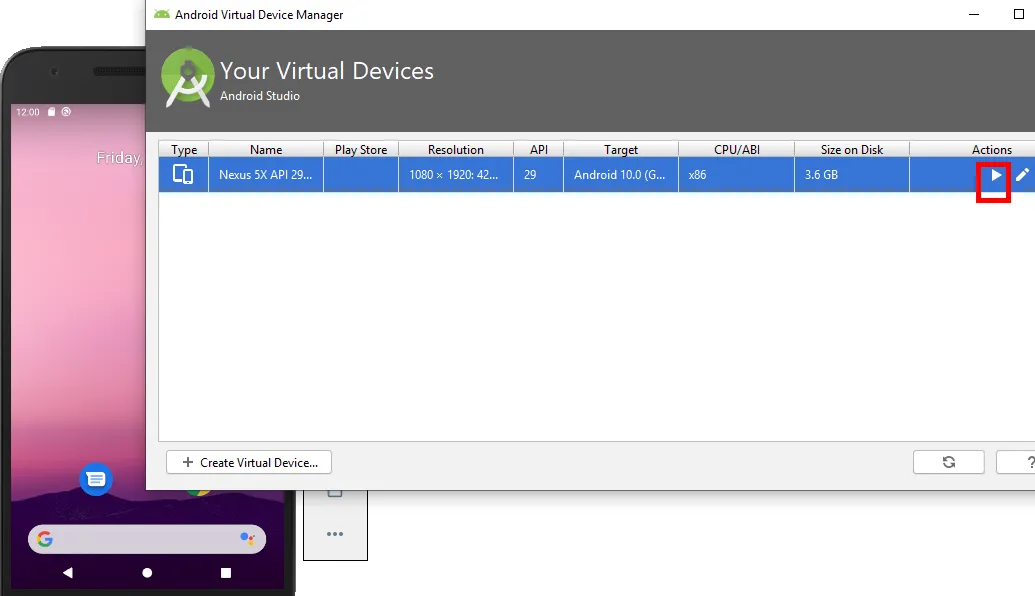
Open virtual device
in welcome to andriod studio screen —> configure —> AVD manager
React native
create project
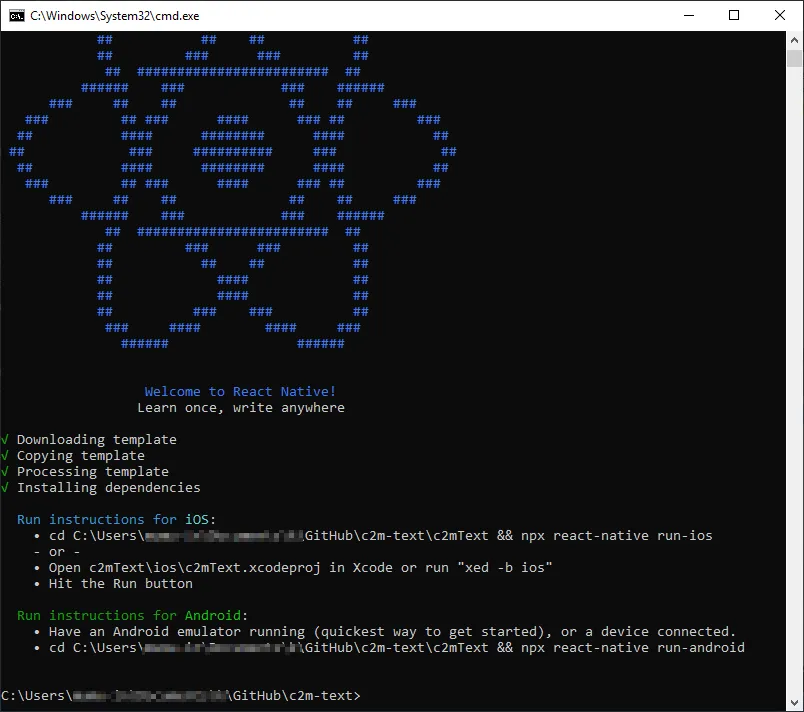
run below command to create react native project
npx react-native init <projectname>
Add java path in your project
open android\gradle.properties file and add org.gradle.java.home config
android.useAndroidX=true
android.enableJetifier=true
org.gradle.java.home=C:\\Program Files\\Java\\jdk1.8.0_202
run the project
Ensure that the andriod emulator is running
run below command
npx react-native run-andriod
when we run that we will get one more node command prompt opened.
finally we can see the running react native in the emulator
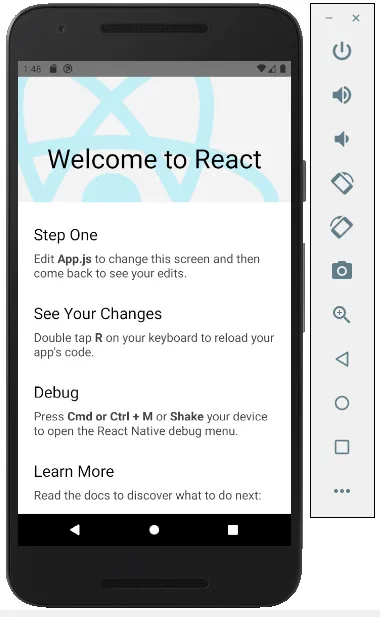
Update the app.js and save, it will be automatically refreshed in the emulator.